Using the TT Patchbay at Studio HQ.
Always patch your output to the correct input level type, e.g., Mic XLR > Mic In, Line Out > Line InAll balanced audio must be routed through the TT Patchbay (located on the left side of the desk in the control room) before being recorded or monitored.

Routing audio with the TT Patchbay
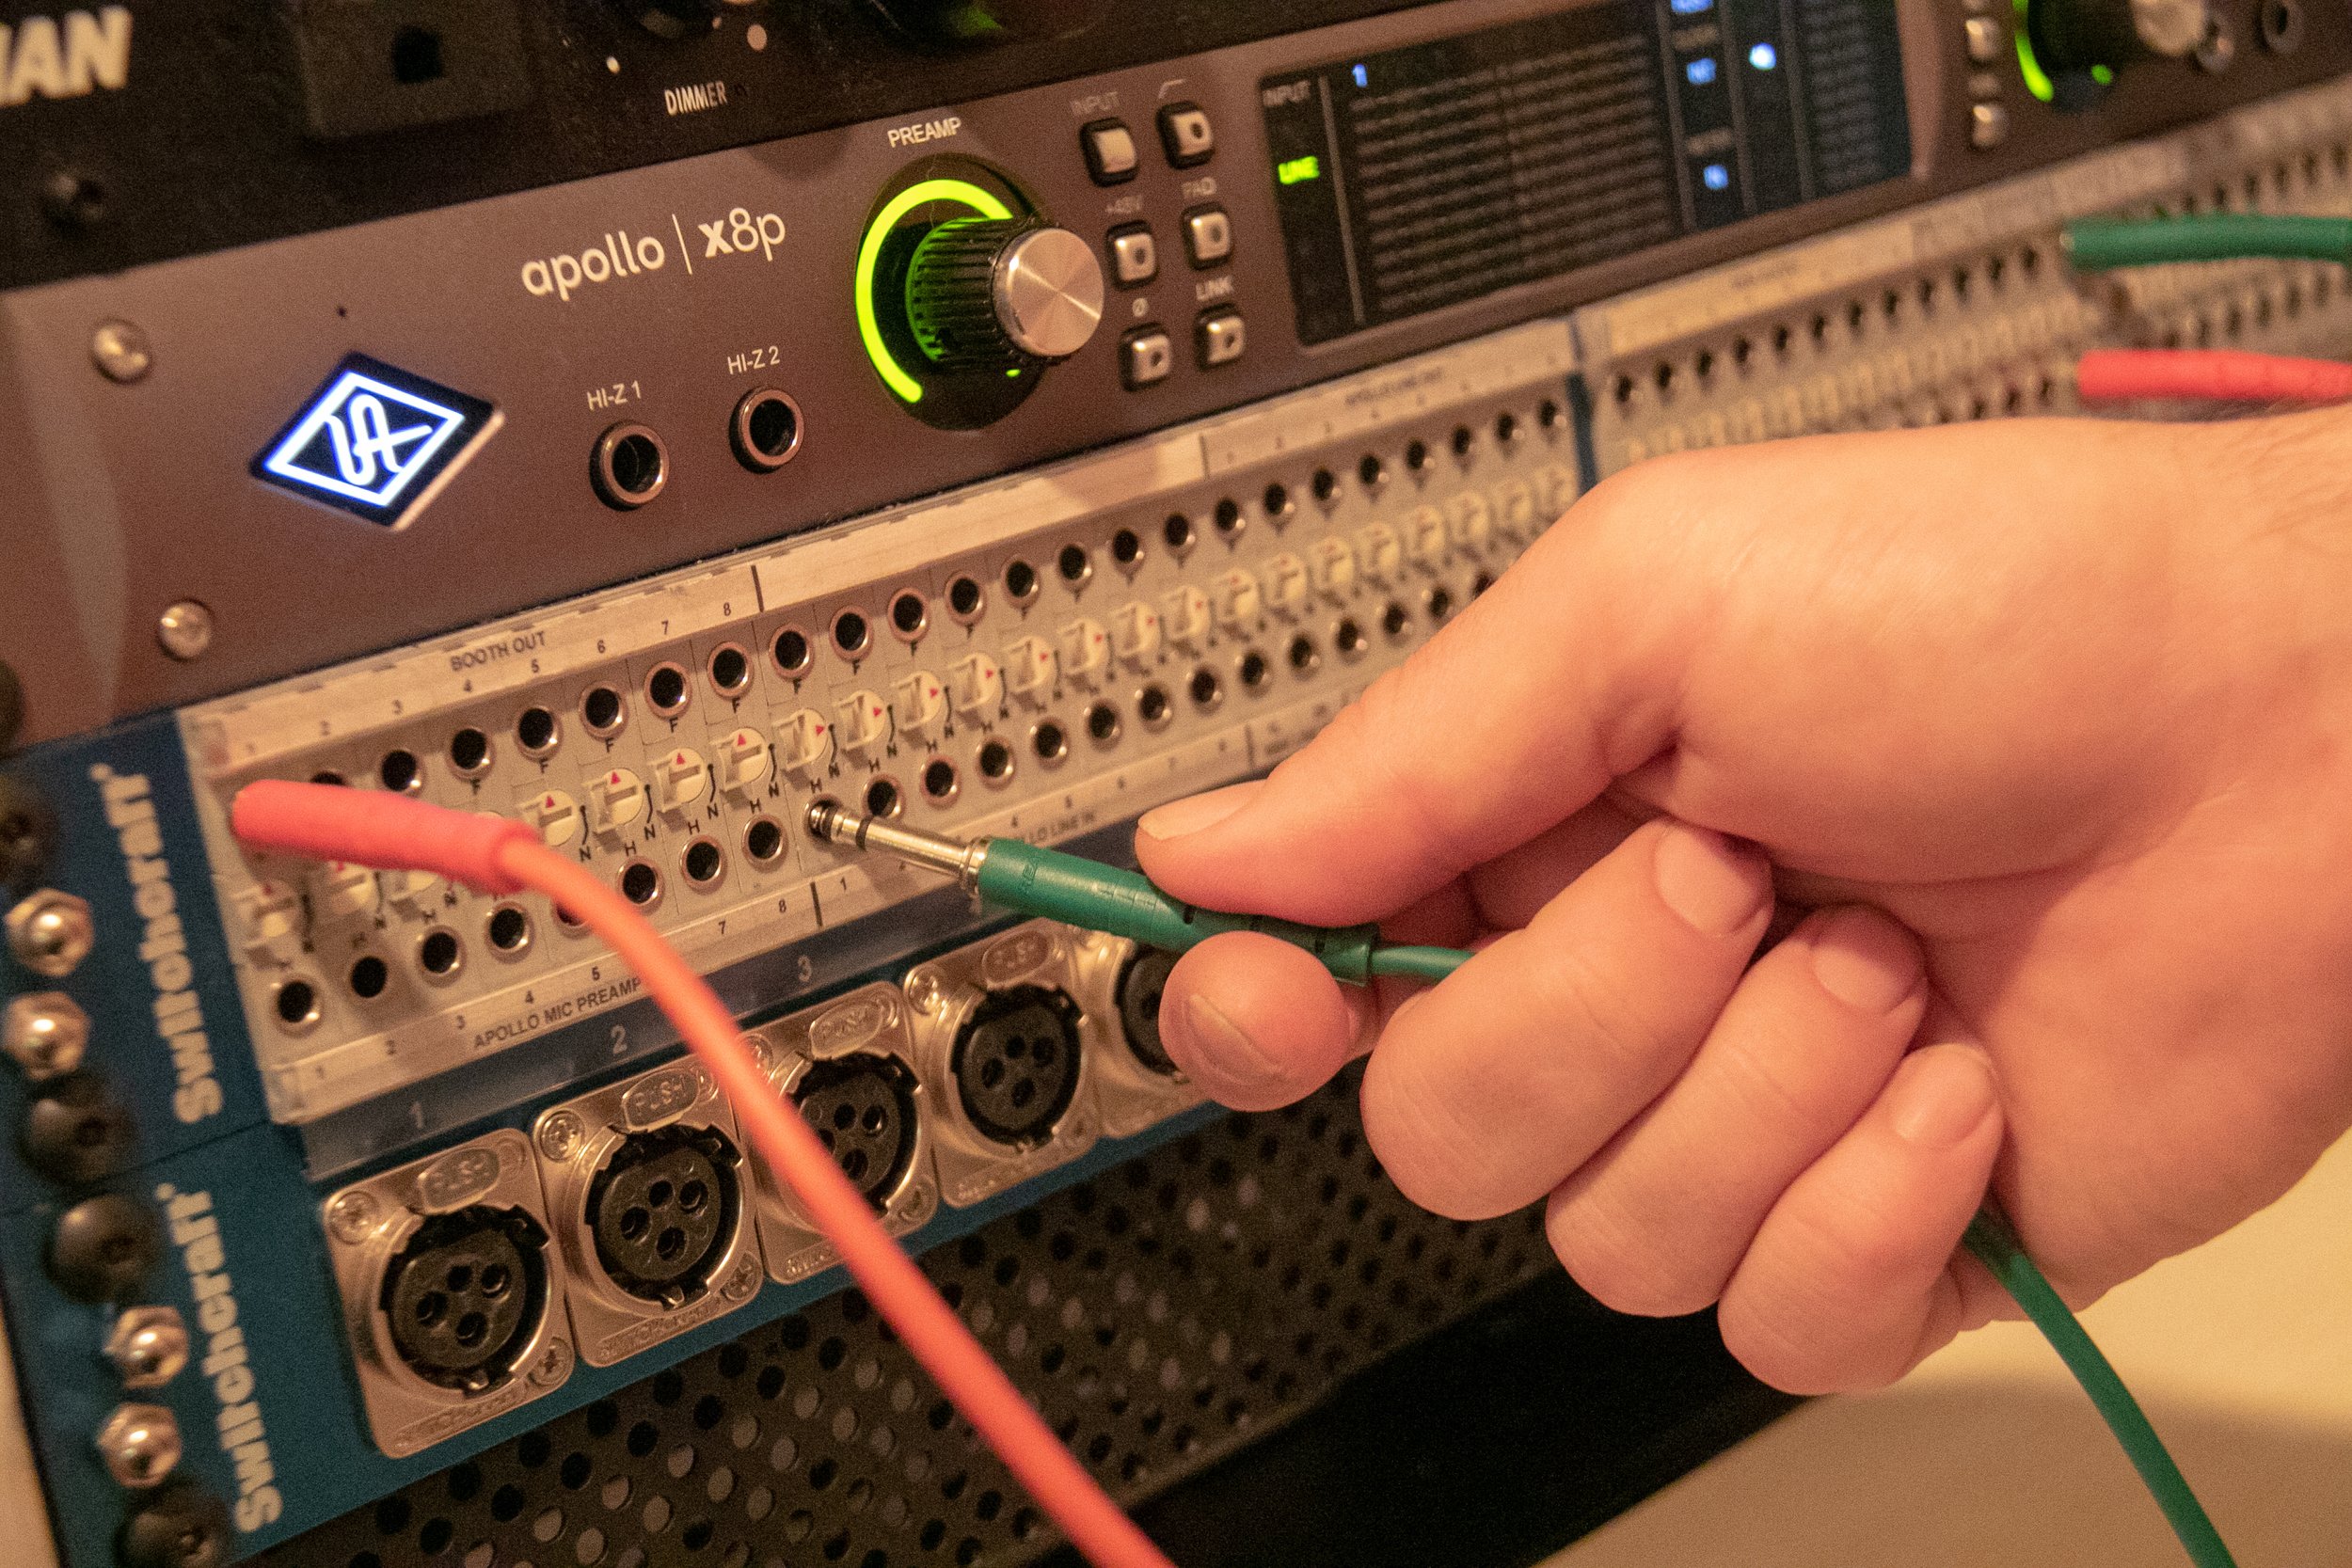
All equipment is made available for custom signal routing by being connected to the TT Patchbay (e.g. connecting to a preamp). Each patch point corresponds to an input or output on a piece of equipment in the studio and can be connected with a TT patch cable. All jacks are labeled and generally organized by type.
Always patch your output to the correct input level type, e.g., Mic XLR > Mic In, Line Out > Line In
Pre-Connected Patches (“Normalled” connections)
Some patches are pre-connected for convenience and do not require a patch cable (e.g. Booth Out > Apollo Mic In), called a “Normalled Connection” and indicated by the location of the circular switch in the center row of the TT patchbay.

Normalled connections may be broken by connecting a TT patch cable to either of the jacks in question.
Do You Need a Patch Cable in the Beta Studio?

Using patch cables
How to create a connection with a patch cable
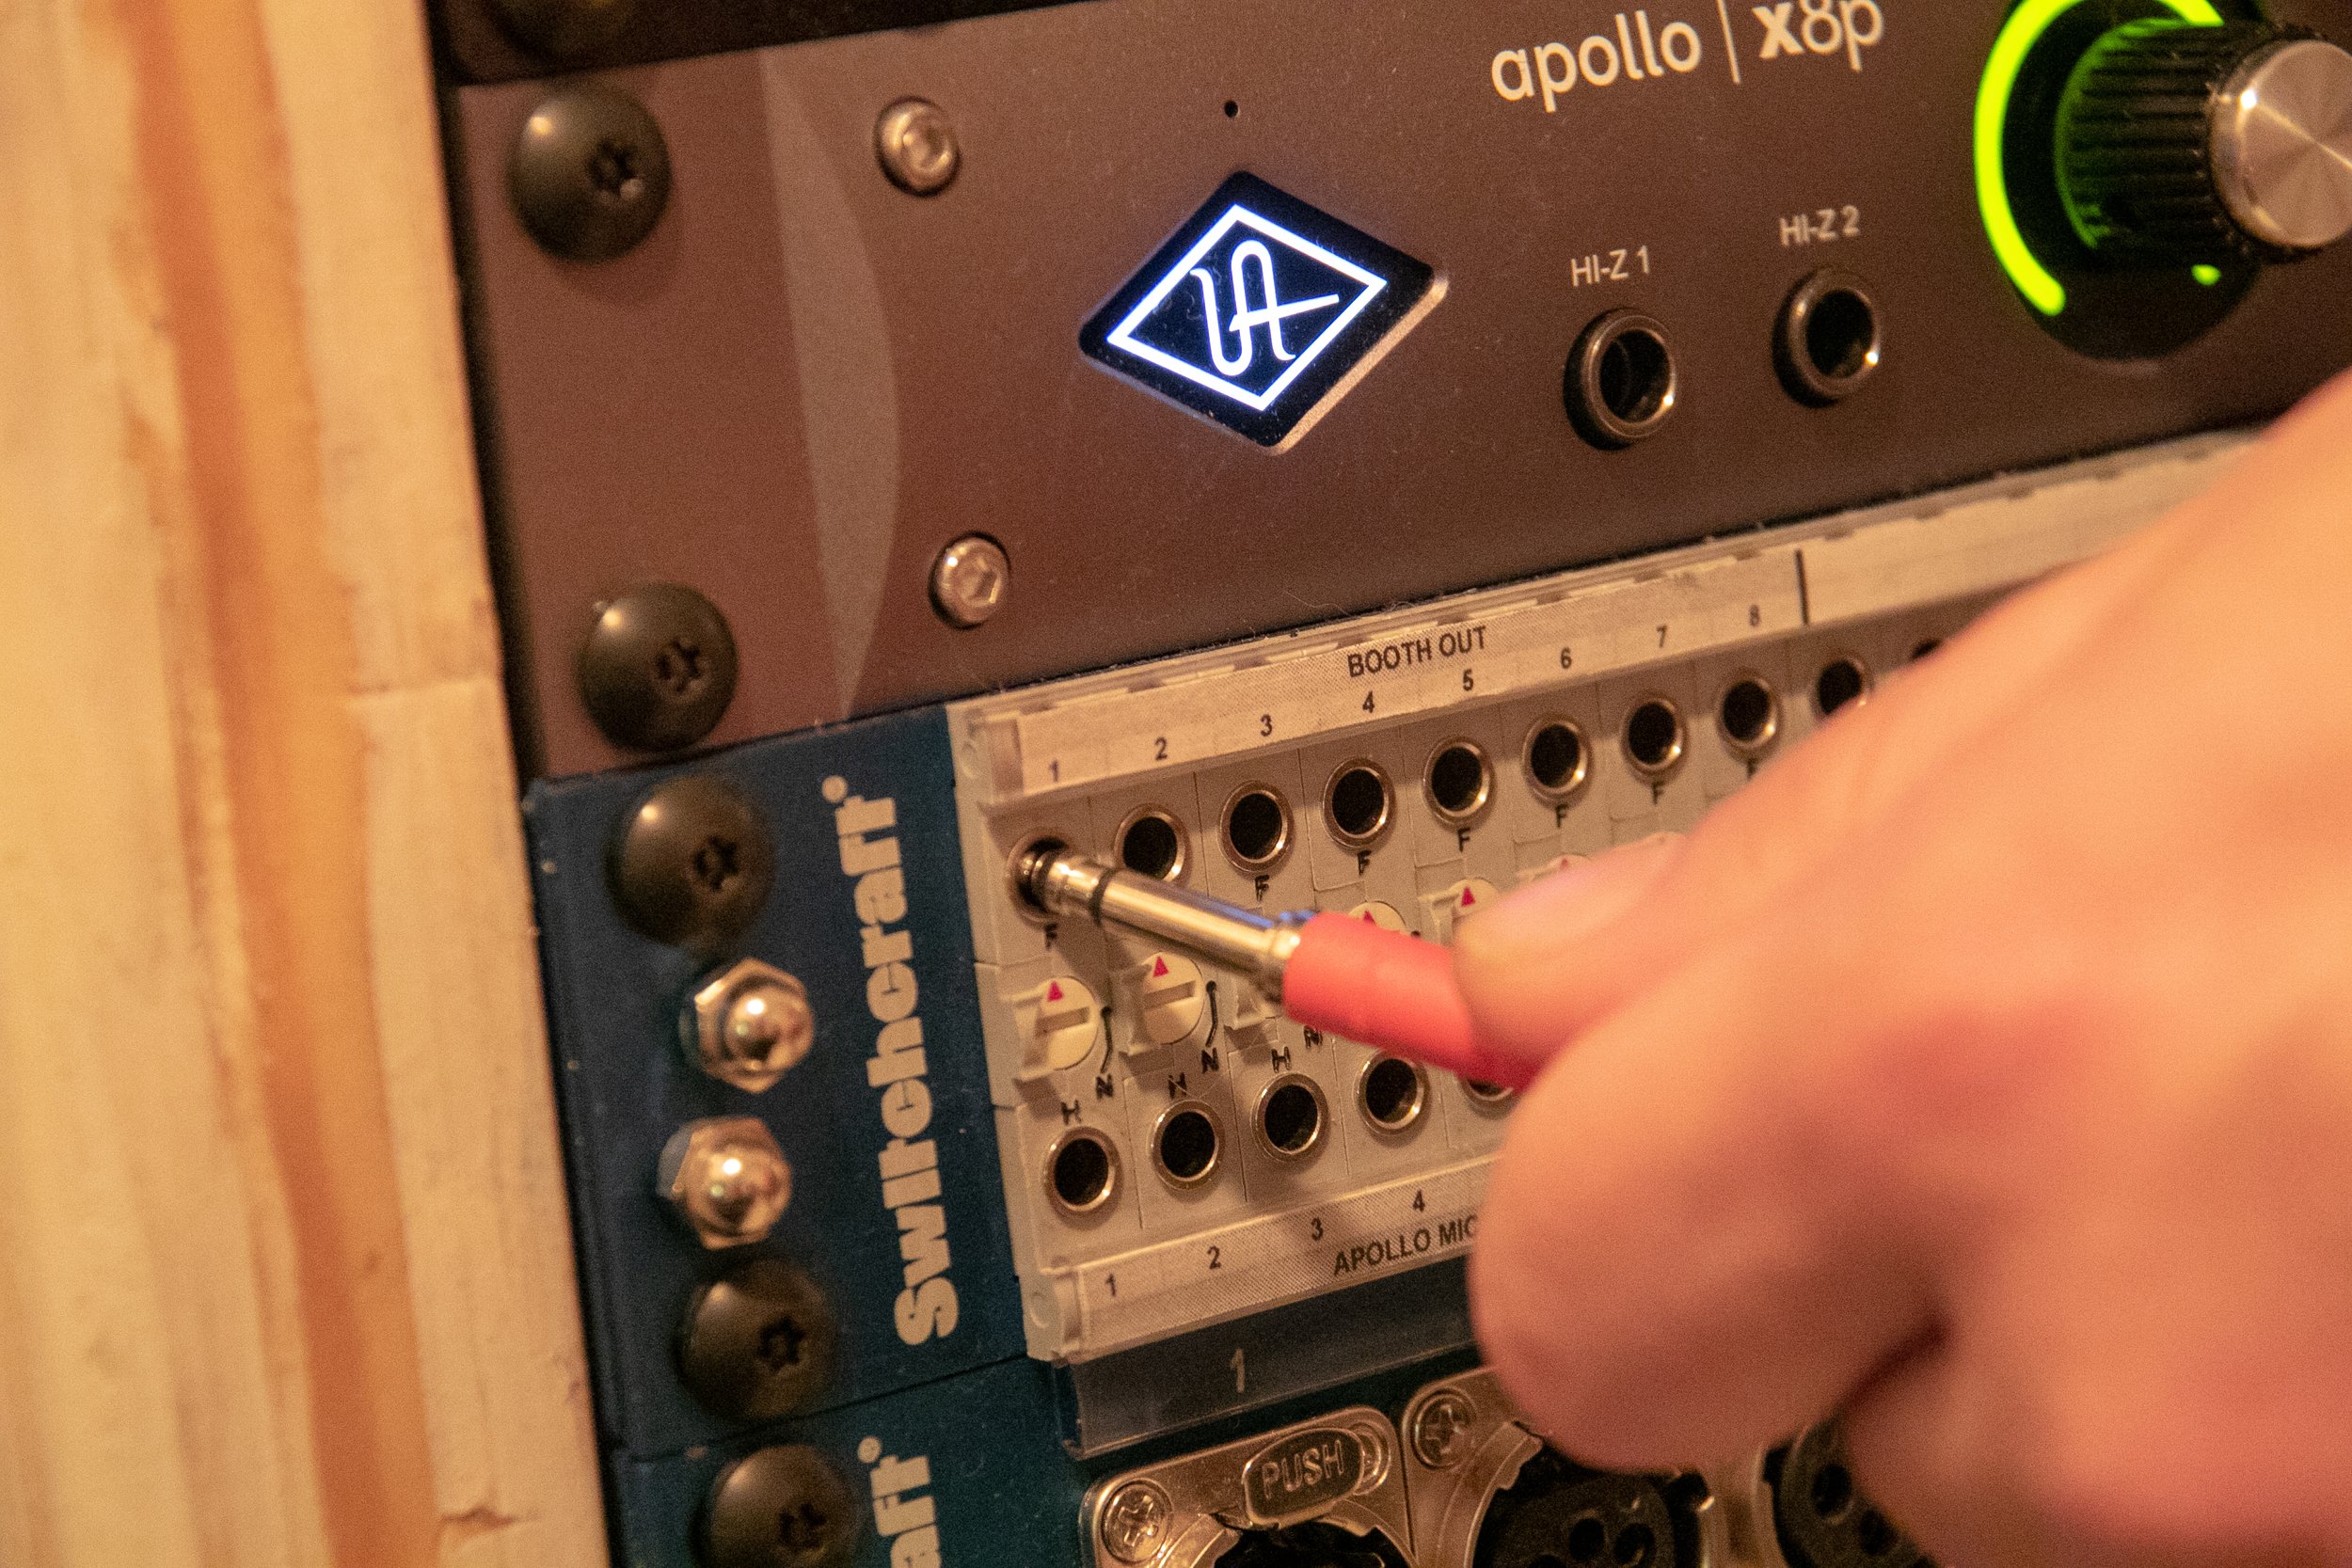
- Connect one end of a TT patch cable to the sound source output (top row)
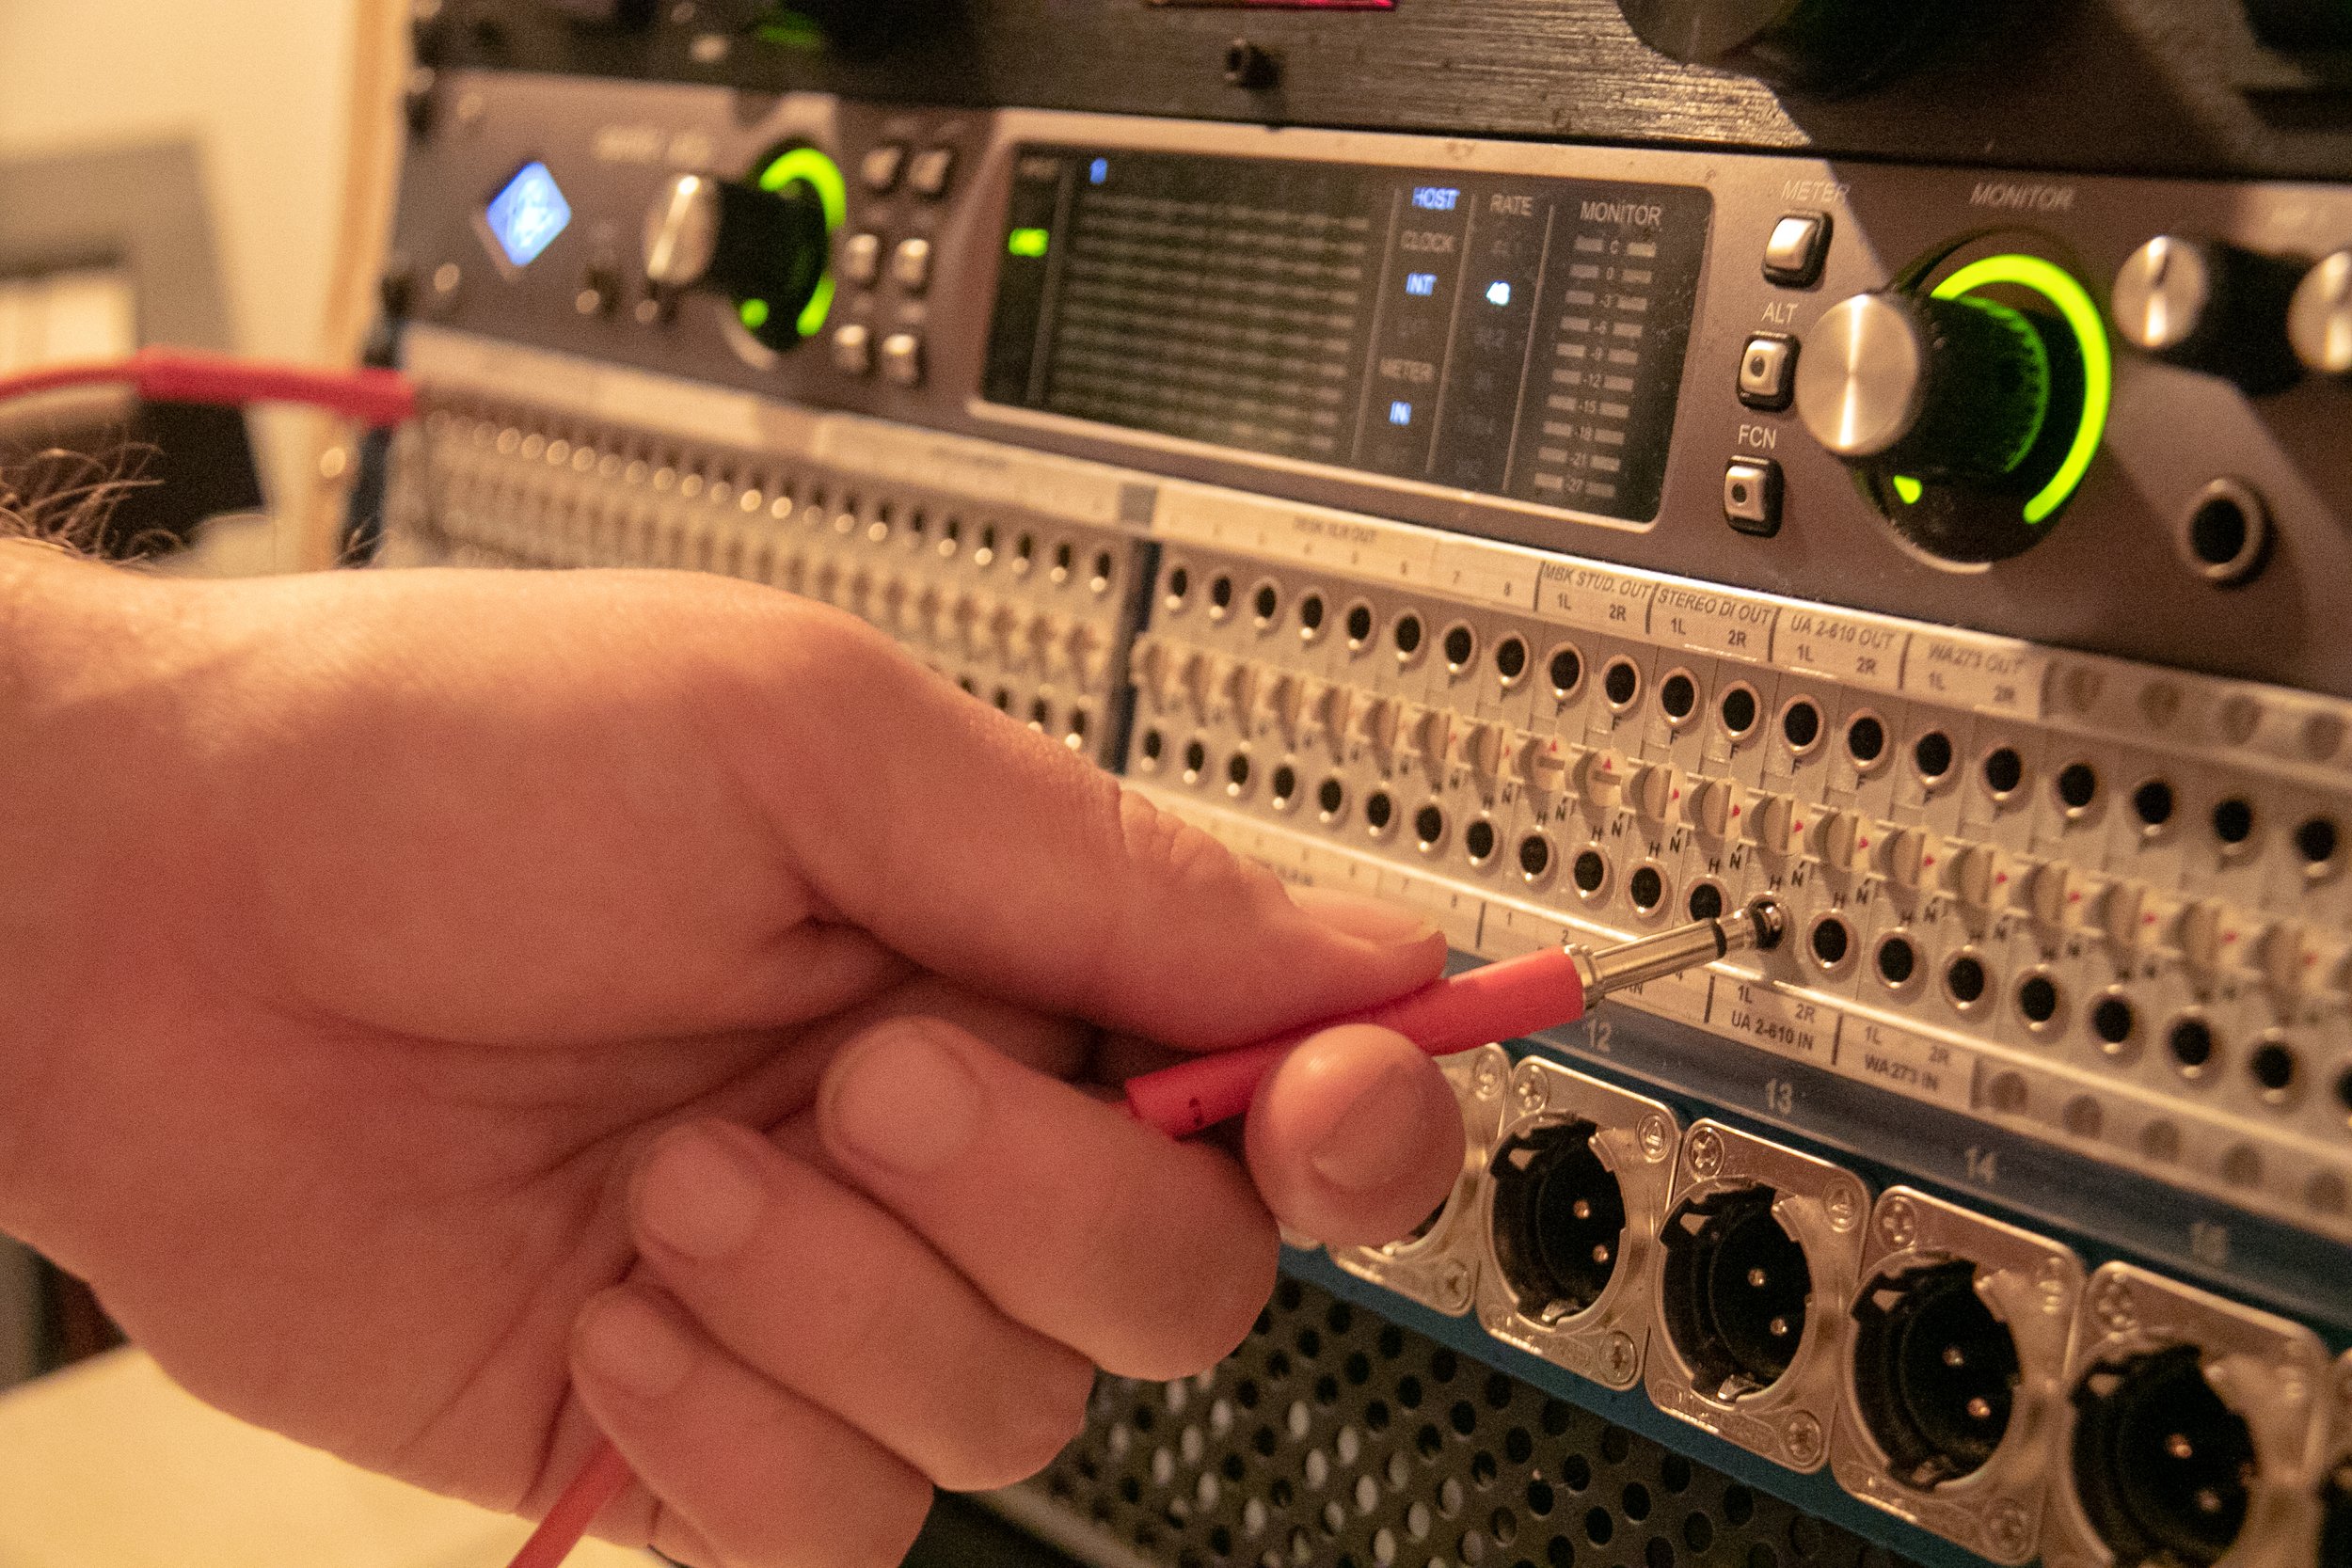
- Connect the other end of the first TT patch cable to the device input (bottom row)
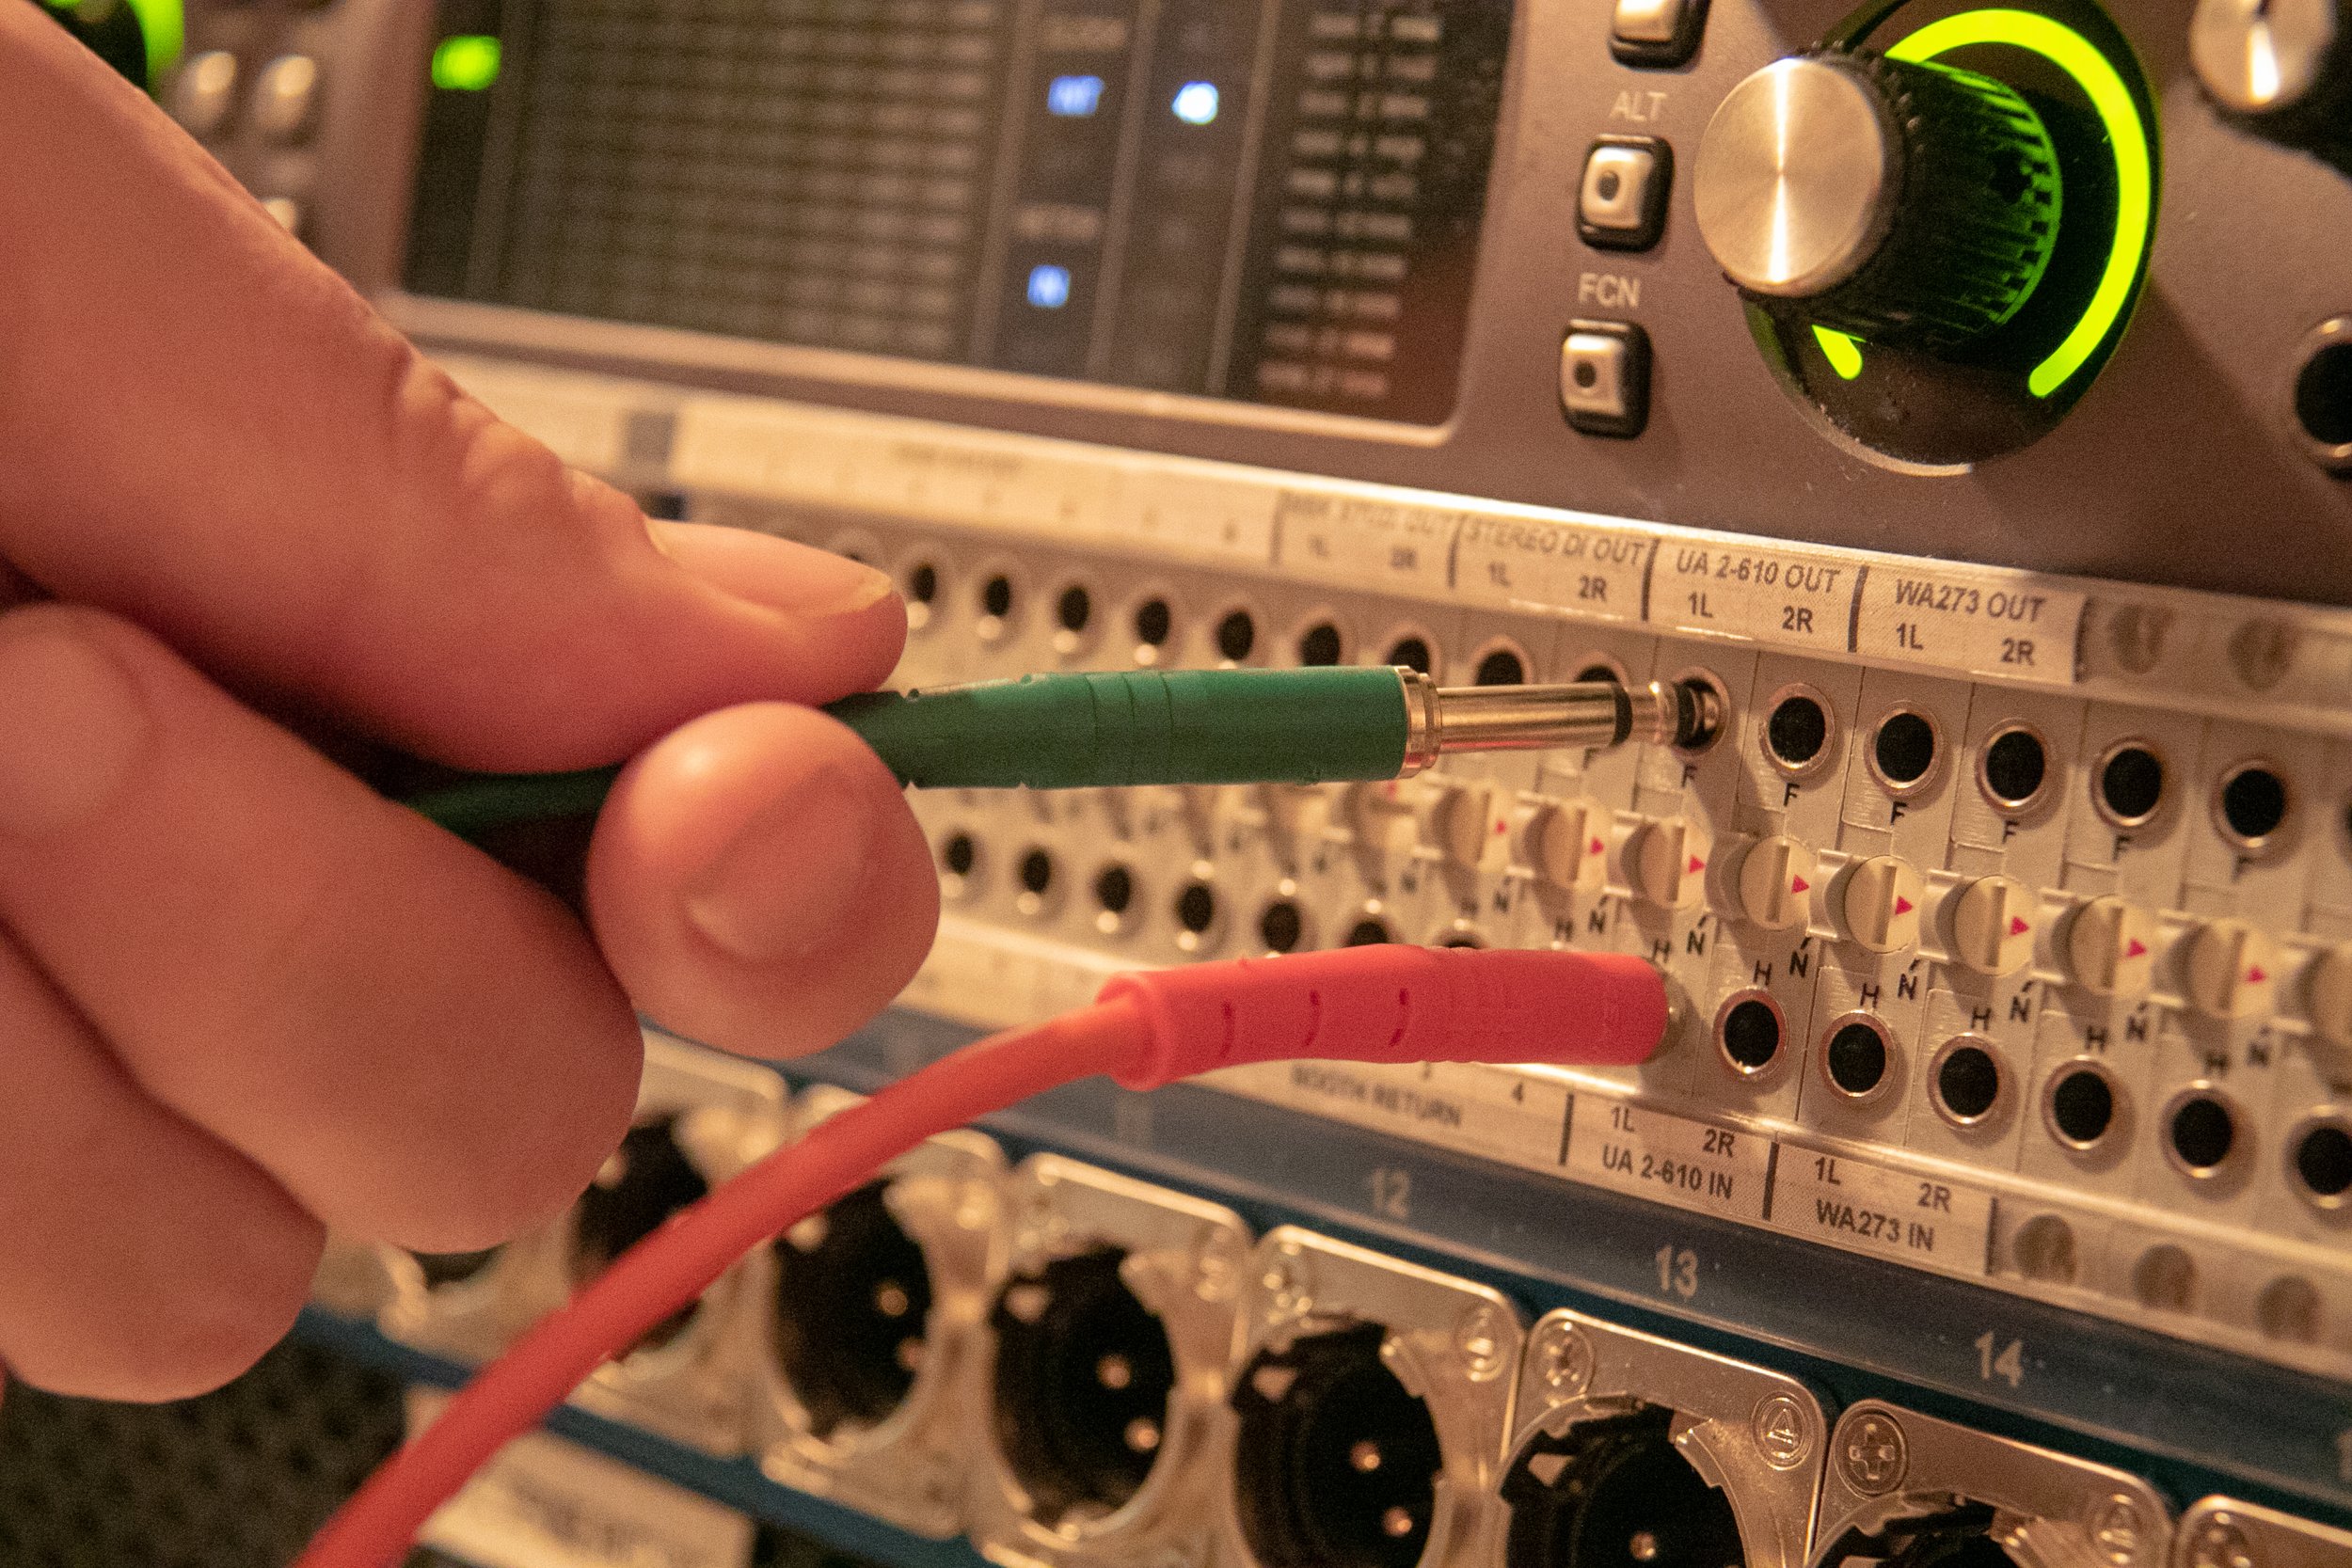
- Connect one end of another patch cable to the the device output (top row)
- Connect the other end of the second patch cable to a recording input (bottom room)

1. Patching from the sound source

2. Patching to the device input

3. Patching from the device output

4. Patching to the recording input
Make sure to mute speakers and turn off phantom power before using patch cables.
